-SPONSORED CONTENT-
Thermographers all make mistakes, especially when first starting out. It’s part of the learning process and is why training with a thermal camera is essential. Here are five of the most common errors we see from new thermographers, especially those who are not properly trained and certified.
#1: Not Buying a Powerful Enough Camera
We have this at #1 because it seems to be the biggest mistake made by those who are who new to the technology: not buying a powerful enough camera. This is something that could cost you much more in the long run. It’s certainly tempting to purchase just on price alone, but not all infrared cameras are the same. Resolution is a great example. In building envelope inspections, not having sufficient resolution means you might miss smaller insulation voids or areas of air leakage.
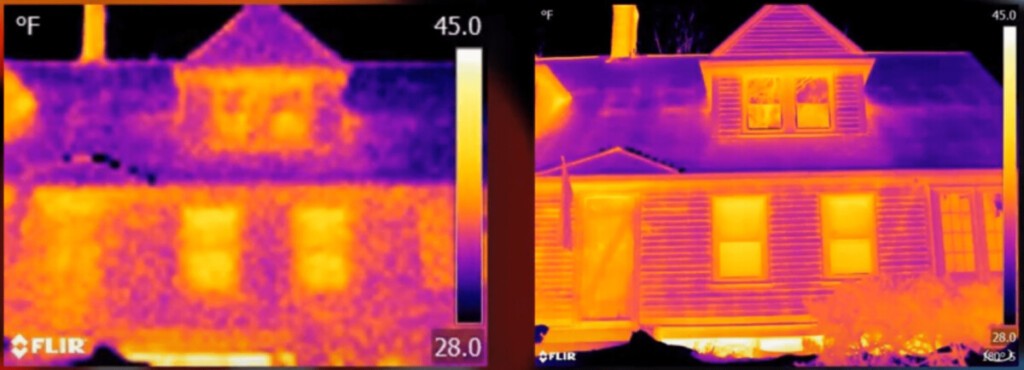
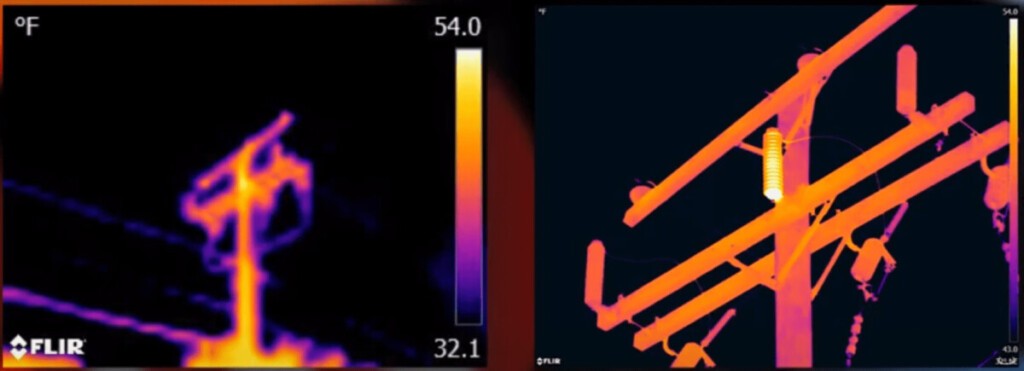
This doesn’t mean you should never consider a low cost camera. An entry level camera has many great uses, but some applications simply demand better specs.
#2: Dismissing Small Temperature Differences
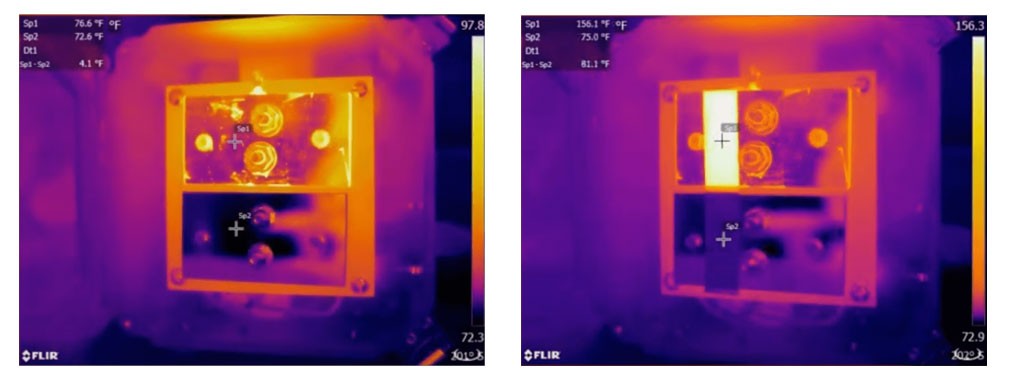
Many infrared programs rely on temperature difference measurements as references points when assessing the severity of a problem. They do so, however, without realising what they are seeing could likely be a lot hotter than what’s displayed in their camera. Shiny metallic surfaces, for example, have a very low emissivity and may give false apparent temperature readings.
#3: Not Understanding Radiation Science
Thermal imagers are passive, meaning they detect all the infrared radiation coming from a target. This means what we see through a camera isn’t limited to the heat emitted by the object, but could also be the result of energy reflected from other sources. This could cause a surface to appear warmer or cooler than its true temperature.
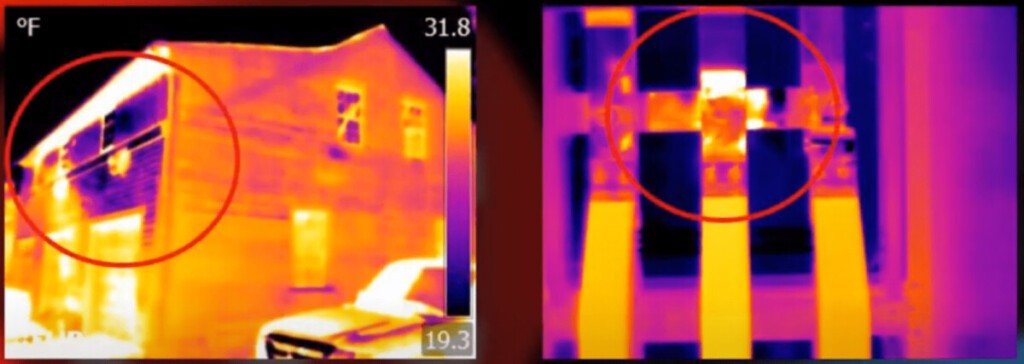
#4: Incorrect Temperature Parameters
Speaking of temperature measurements, setting the right emissivity and reflected temperature values in your camera is essential for accuracy. Emissivity, reflected temperature, and other object parameters must be adjusted correctly, otherwise your measurements will be off—very significantly in some cases.

#5: Poor Image Adjustment/Focus
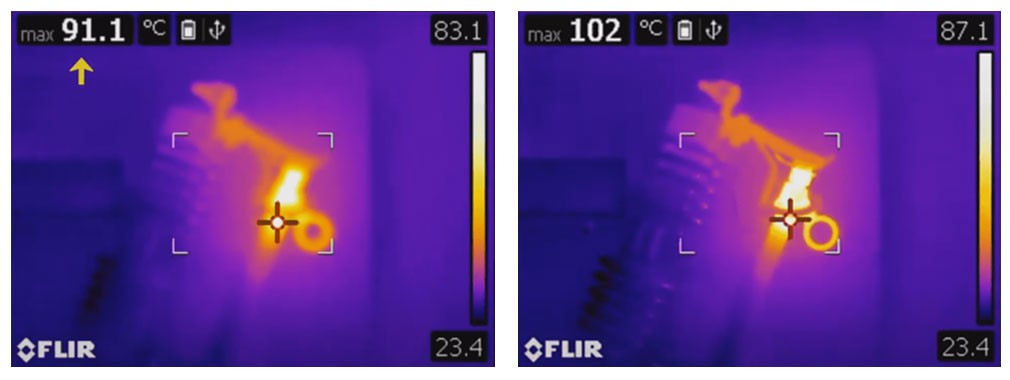
An out of focus image isn’t just difficult to interpret, it also displays the wrong temperature. Focus needs to be perfect each time BEFORE saving an image. When it comes to focus, there’s no such thing as “good enough”. It’s either in focus or it’s not.
Please call TELEDYNE FLIR on 1300 729 987 or visit www.flir.com.au for more information on these products and other FLIR solutions.
-SPONSORED CONTENT-

